
Check out this video on how to install Recoil free-running tanged inserts, an innovative solution to thread repair that can also be used to transform a shear load into a radial load over the entire length of the insert… the result is the virtual elimination of fatique failures due to stress! Thread, better and subscribe to our channel for more innovative and exclusive videos!
Using a helical insert to repair threads, step by step:
 Drill out the damaged threads using a (correct diameter) drill bit.
- Tap the hole with a special thread, like an STI Tap, to accept the threaded insert. The tap required is typically included in your thread repair kit.
- Use the insertion tool included with your thread repair kit to screw the threaded insert into the hole, stopping the helical insert just below the part's surface.
- Unscrew the insertion tool to release torque, allowing the threaded insert to expand slightly and lock into the part.
- Break off the tang where the thread insert wire returns across the hole. A hex tool can be inserted through the new thread to rest against the tang and it typically will snap off easily with the light tap of a hammer.
thread repair kits
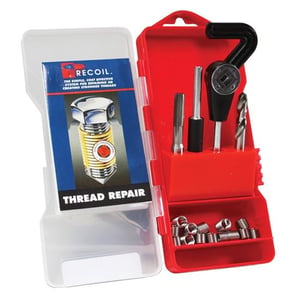
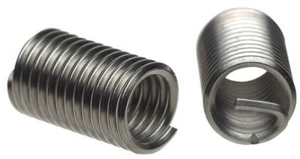
Thread repair kits allow you to remove the damaged threads that are stuck in a hole and replace them with new threads of the same diameter. Thread repair kits consist of a tapping tool, an insertion tool, and thread inserts, the most popular type of thread insert included being a helical insert. Similar to a very tightly wound & compact spring, a helical insert is composed of helically coiled stainless steel wire with a diamond-shaped cross section. This cross-section allows the external portion of the wire to screw into the hole's receiving threads during installation, while the spacing between the coils of the insert's inner portion of the wire form new conventional 60° threads within the hole. The tension between the insert and the walls of the hole helps to keep the insert in place and keep it from unthreading. The helix has a small return at one end that engages with the kit's included insertion tool, allowing the insert to be screwed into the hole. A small notch in the wire allows this return to be broken off once the insert has been installed.
WAnt an awesome tap Drill CharT?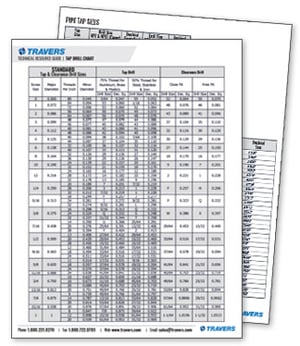
We have you covered! Download the chart that makes it easy to determine the right tap & drill for your application and material! Our printable Tap Drill Chart includes comprehensive reference tables that list:
- Standard Tap & Clearance Drill Sizes
- Metric Tap & Clearance Drill Sizes
- Plug Tap Sizes